
Last month VMWare released what they have called ESXi Arm-fling. This new release allows you to install the same ESXi you know and love on an ARM processor. VMWare has certified a few systems for datacenter use. They also have certified it for the Raspberry Pi 4, but only for what they call “Far Edge”.
Today we are going to perform the installation on a Raspberry Pi 8GB and do some testing. While we generally feel ProjectTinyMiniMicro may be a better option for some, there are many enthusiasts who sing the praises of the Raspberry Pi. The Pi has exceptional power efficiency, scalability, and a small footprint.
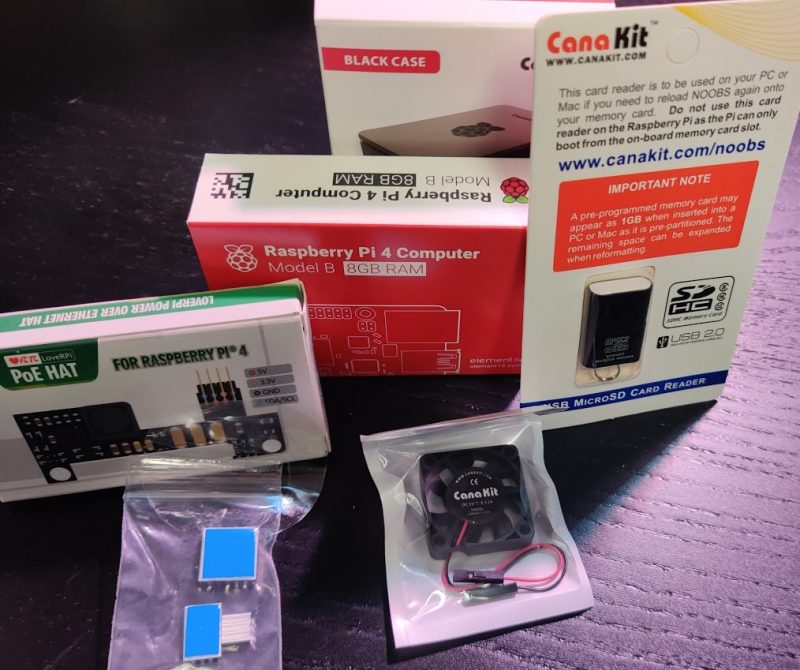
Before we continue, it is worth noting that this installation is a little bit different than other Raspberry Pi installations. We will need a total of three different pieces of storage to complete this installation. You need a microSD card for the firmware, but in this guide that is ALL the microSD card will be used for. Then you will need a USB thumb drive to act as your VMWare installer. Finally, you will need a place to install VMWare to. While it is possible to install it to your microSD card, that is not officially supported. Instead, you want to look at a USB based solution or a network solution such as PXE or iSCSI.
Preparing our Pi for ESXi
You will need to grab the NOOBS image and burn it to your microSD card if you did not buy a kit with it preinstalled as we had. To do so you can utilize the Raspberry Pi Imager.
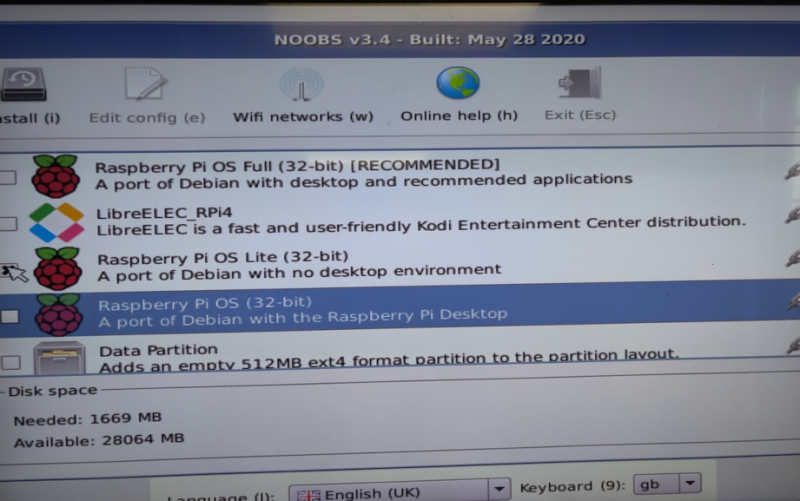
When the NOOBs installer boots up, select the Raspberry Pi OS Lite (32-bit) option. You do not need the full desktop version. We are only using the OS to update the EEPROM and get some other updates out of the way.
When the installation is completed, run the following commands:
sudo rpi-eeprom-update -a
sudo reboot
After you have completed the EEPROM update, we need to now update the firmware and switch to the community UEFI firmware. First, start by going to the Raspberry Pi Github page and download the latest firmware. Next, go to pftf’s UEFI Github page, and download it as well.
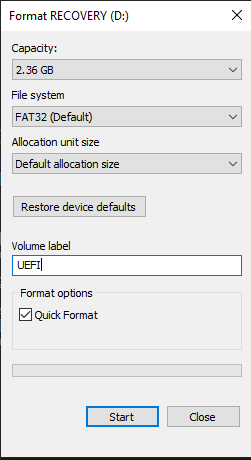
Safely shutdown your Pi and take the microSD card out. Next, plug your microSD card into a computer and prepare to update the files on it. To get started, we need to format the RECOVERY partition and rename it UEFI:
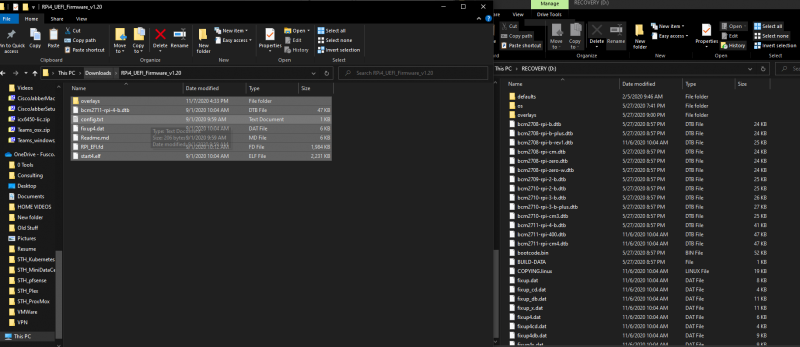
Next, drag and drop the new files from the boot folder in the firmware-master onto the SD card. Start by going to the firmware-master folder and selecting everything. Once completed, you must remove the four files starting with the name “kernel”:

Next, do the same thing for the files from the UEFI firmware. Make sure you replace/overwrite the files with the updated ones.
Now, open the config.txt file in the UEFI drive. We need to modify it by adding a line
gpu_mem=32You can now put the SD card back into your RPI.
Setting up ESXi for ARM
To get started you will need to navigate to VMware’s page for ESXi for ARM. Once there you will need to create an account and download the ISO. You will need to burn this ISO to a separate USB thumb drive. To burn it to the drive, you can utilize Rufus.

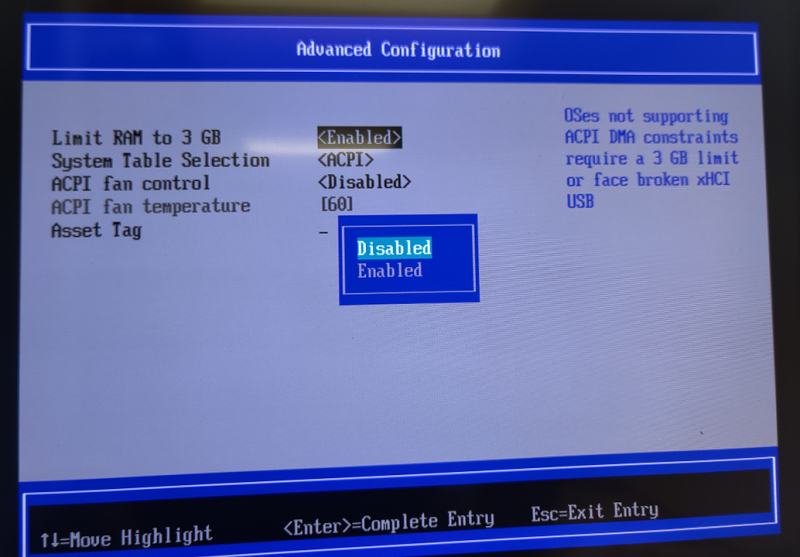
After you have burned the ISO to your thumb drive, you need to plug it into your Pi and turn it on. You will see a new UEFI boot menu, press escape, and get into the UEFI to make any changes.
Click on Device Manager and then click Limit Ram to 3GB and change it to Disabled.
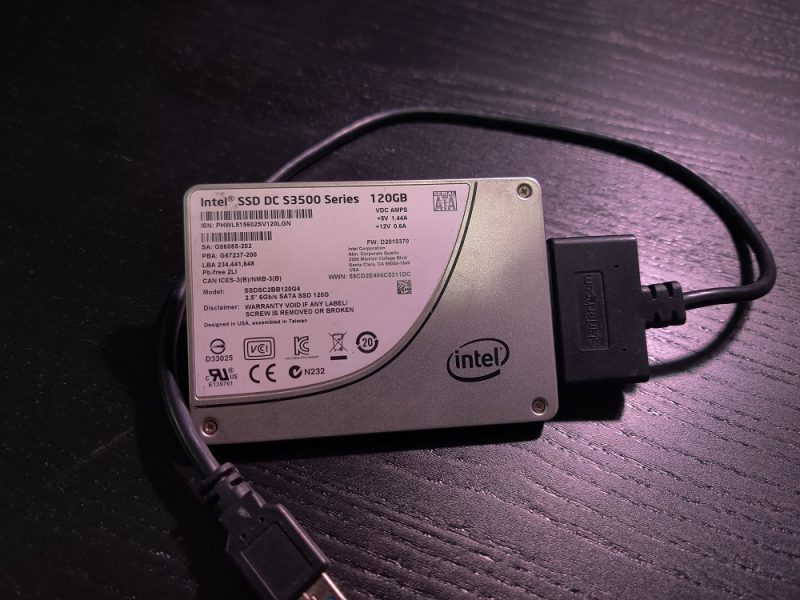
Press F10 and save the change you made. Exit the UEFI and press Enter to boot to the USB drive. The system will then boot into the ESXi installer. One option for installing ESXi to an SSD, using something like a Startech USB3.0 to SATA adapter. Another option is to install it to another USB thumb drive and use iSCSI storage for your VMs.
Select your disk, it has to be one other than the USB installer drive or the microSD card. Once you have selected your disk, the installer will format it and destructively remove all data. You need only to assign a password and installation will begin. When you are done, simply remove the installation media and reboot.
Getting Started in VMware ESXi on the Pi
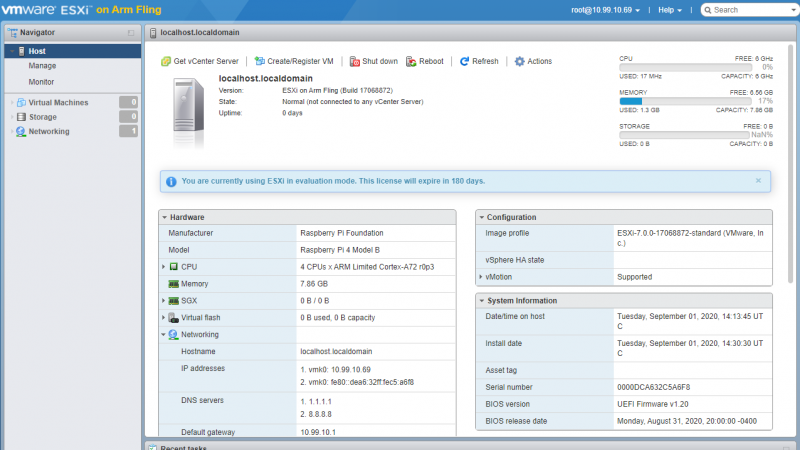
To get started, open a web browser on another computer and point it to the IP of your Pi. Once there, you should see the familiar ESXi home page. For more information on setting up ESXi, please see our Building a Lab series.
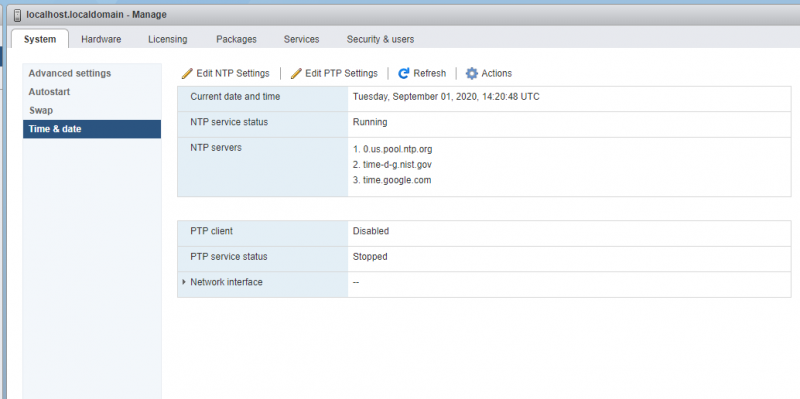
The first step we should do is to add our NTP servers. Go to Manage then to System and finally to Time and Date. Add some NTP servers, then click on Services and start the ntpd service.
If you wanted to add iSCSI storage you can. For my testing, I added a 1TiB iSCSI LUN from my production TrueNAS Core box.

Additionally, you can add it to a vCenter just like a normal ESXi host. You simply right-click on a datacenter, press Add Host, type your IP address, credentials and select a license.

At this point, you are basically ready to get going with the VMware ESXi on Arm Fling using your Raspberry Pi.
A Word on Some Limitations
There are some limitations to this setup, however. As one example, ESXi on Arm cannot run X86 compatible operating systems. As a result, you will not be able to install Windows in the traditional sense. At this time Windows 10 for ARM is not supported. You will be able to install operating systems compiled for Arm, however. As a result, we see Ubuntu Server being a more popular guest OS than Windows Server.
Using ESXi on a Raspberry Pi in conjunction with something like Kubernetes makes for an interesting solution, however. This gives us tinkerers the ability to build an entire three node cluster on a single Raspberry Pi. While I certainly would not suggest doing this in production, it is a fantastic opportunity for learning and development.
Final Words
As Patrick stated in his piece of BBQ and Virtualization, large nodes make sense. With the advent of ESXi on Arm, we get to look at the other side of that picture. If you need a highly available solution for a lightweight application, you can use a cluster of Raspberry Pis to build a vSAN capable of obtaining that goal. Alternatively, if you are new to this world and just trying to learn, having ESXi available gives you access to what is used in the enterprise.
One of the coolest possibilities for this platform is for the Raspberry Pi to become a witness node for a cluster in vCenter. If you have two production x86 servers and are planning to build a vSAN, a RaspberryPi can be added as a witness node. This will effectively save you a ton of money by not having to buy a full-blown third server. Using a small node like this in the future can lower both up-front as well as operating costs over time due to the low power consumption. A note of warning, however. That is not an officially supported topology by VMWare, but it is certainly interesting! For those using other virtualization setups such as standard KVM on Linux clusters, this is a great use case as well.

With Apple switching to Arm, NVIDIA looking to acquire Arm, and Cloud Providers looking more at Arm, VMWare has made a strong move here. To be clear, it needed to do this as it was falling behind in the edge. Likewise, VMware is many years behind Amazon AWS in the DPU architecture but is catching up with VMware Project Monterey ESXi on Arm on DPU. It may be harder to buy a DPU today to work with ESXi on Arm, but it is relatively low-cost to simply get a Raspberry Pi. I am personally excited to see what happens next.


What’s the state of Xen and KVM on the RPi4? There used to be some problem with the interrupt controller of the RPi3. Is there decent open source virtualization support on the RPi4?
https://www.linux.com/featured/xen-on-raspberry-pi-4-adventures/
Good Morning Nick,
Very well thought out and organized article thank yu for the work you put in on it. In your eeprom line you probably want to execute it this way sudo rpi-eeprom-update -d -a
Just letting you know.
Michael
Hola, Thank you for share this. I’ve been trying to setup my PI with VMware ESXi but i’m stucked. After create the boot installer just seeing a multicolored screen and nothing happen. Hope you could help me to find out what I missed. Thank you
What the heck is the RECOVERY partition? My SD card has a boot partition and another partition. Clearly the boot partition is specific to the loader and is only 256 MB FAT32, the other partition is the remaining space of the SD card. So I don’t any RECOVERY partition. So do I format the entire SD card? Your example shows a size of 2.3 GB? That can’t be just the boot partition? Your explanation of how and what to do right after the EEPROM update really is vague and needs some explanation.
Just FYI: NOOBs installer is now depreciated.
Why can’t you install esxi to the sd card? Eg. 1 partition for the uefi boot and remaining space for esxi, leaving all usb slots free for larger data stores?
I keep getting stuck, that it doesn’t boot after installing..
I suspect it has to do with “usb-storage.quirks=152d:0578:u” that I have to add to cmdline.txt to get normal Pi OS’s to boot from the USB attached storage..
wowowowow